If you’ve been unable to tune into your favourite radio station recently, your car aerial might be to blame. We will explain everything about car aerial; its evolution, importance, how does it work, common issues, and the installation process.
The car aerial, also known as the antenna, is a device you use to get radio reception. The better the quality of your car aerial, the superior reception, and coverage you will get. The antenna usually sits on the outside (unless it’s an internal antenna) of your vehicle and connects to your head radio unit through a cable.
The evolution of the car aerial:
Many decades ago, car antennas were extendable metal rods placed near the windscreen. These were manual antennas, and if you were driving back then, you might recall having to manually extend them for use and tucking them back in after. Of course, you had the option of using them un-extended, but then you would have very poor reception.

Following this era was the age of automatic antennas. These went next to the boot of your car and would extend automatically when you turned the radio on. Although a major step forward from the manual car aerial, the automatic aerials still faced some of the same issues that the prior did. For example, they could easily get caught in low branches or vandals would snap them off.

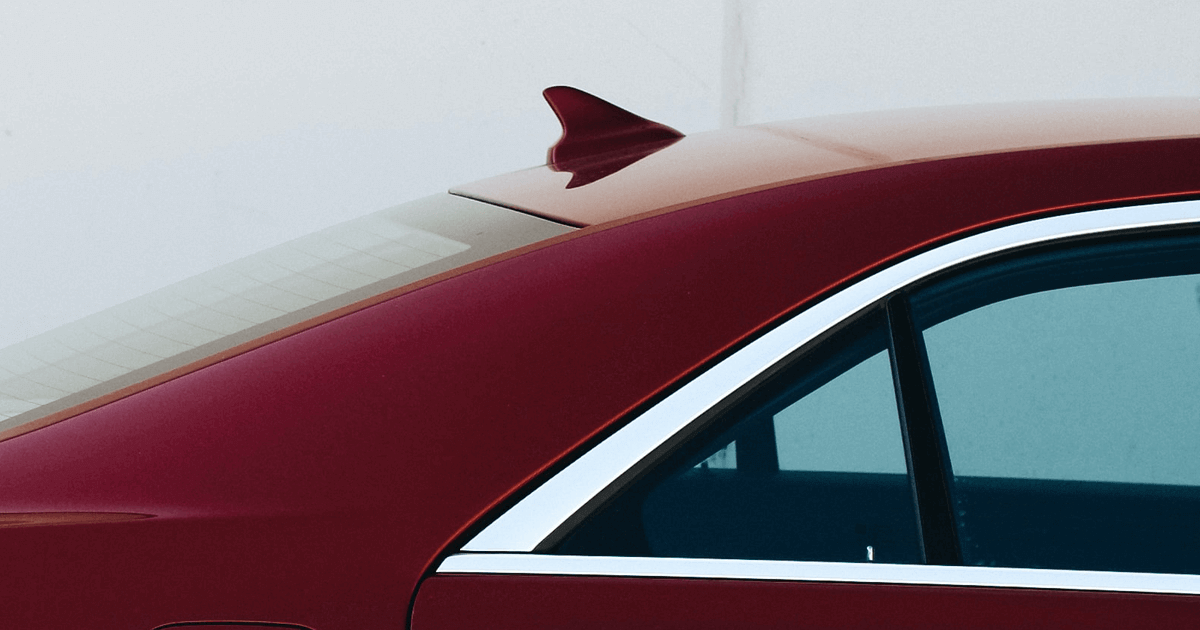
These issues were common enough for manufacturers to realise that a change was overdue. This change came in the form of what you might know as the “shark fin antenna”. Not only are these new antennae more aesthetically pleasing, but they also have better aerodynamics. Since they are closer to the body of the vehicle, they do not sway at high speed, thereby reducing the risk of their breakage.

However, that is not where the evolution of car aerial stopped. The shark fin aerials were better than their predecessors, but they were still prone to damage from branches or garage doors or vandals.
As a result, some car manufacturers have now come up with an even more seamless solution - internal antennas! These antennas are normally integrated within the rear windscreen of the car. You can see these as additional lines that run along with your car’s defogger elements. Unlike the defogger elements, however, these turn at 90° as they reach the ends of the windscreen.
The importance of a good car aerial:
A high-quality car aerial is crucial to enjoying uninterrupted radio entertainment on the road. Whether you want to rock to music or listen to a good talk show, a high-grade antenna will make sure there is no static or hissing from a weak signal. The best car aerial also prevents the annoying “fade out” due to poor radio reception. Furthermore, a quality car aerial is easier to use and mount for DIY installation. They also have wider compatibility, so you do not have to worry about looking for a very specific sort of aerial model and make.
How does car aerial work?
A car aerial works the same way as a normal antenna functions. The antenna on your car will pick up the magnetic energy that a transmitter transmits and sends it to your vehicle’s receiver. Consequently, it generates tiny electric charges. The receiver then isolates and amplifies the specific radio waves that are of interest to you.
Depending on the details of your antenna’s design, it will pick particular radio wavelengths more easily than others will. The challenge arises when the generated electrical impulses need to get transmitted to your car radio with as little loss in signal as possible. For this purpose, your vehicle comes with a transmission line, which can be any medium that will transfer the signals efficiently.
Unfortunately, the average car aerial will not be able to tune into every sort of wavelength and you might need a specialised antenna to get specific broadcasts.
Common issues:
Car antennas are quite prone to damage, mostly because of their location. Damaged antennas will not give you good radio reception if any at all. As a result, long drives can turn out to be very boring.
Here are some common issues with car aerials:
Bending or snapping of aerial - Your aerial is susceptible to physical harm. In addition to getting caught in low hanging branches or garage doors, you could also get antennas harmed in a mechanical car wash. Even the more recent shark fin antennas can get damaged this way.

Cable damage - Occasionally, you might face an issue not with the car aerial itself but rather with the cable, that connects it to the radio unit. The cable can break off or even get loose, giving you no signal at all.
Radio head unit damage - In some instances, the head unit might be the culprit. There could be many reasons for its harm and you can correct it by simply replacing the whole unit.
Missing aerial part - Most radio antennas need to be a certain length for them to be able to pick radio signals. Therefore, if you have a piece of your car aerial missing, all you’ll get is fuzzy and static-filled noise from your radio.
Jammed aerial - If your vehicle is using an older car antenna model, you might have issues with extending or retracting it. Like with the previous issue, if your antenna cannot rise to the required length, it will not be good at picking up the right sort of reception. It thus gives you poor radio coverage with a lot of static or fades in and out of reception.
How to install a new car aerial?
Installing a new aerial is a simple and straightforward process. The installation procedure varies according to the type of car aerial you are using. Stated below are the simple steps involved in replacing external car antennas. Internal car antennas are also easy to replace but need a little more knowledge and expertise.
Here is how to replace a faulty external antenna:
- Disconnect the cable from the Car Radio Head Unit and inspect it for any possible damage.
- Undo the nuts holding your car aerial in place and remove it from its place on your car body.
- Plug the new cable into the radio head unit and put it through to the outside of your vehicle all the way, to where the new aerial is.
- Secure the new aerial in the place of the old one. Complete this step with care to ensure that the new antenna does not fall off when you drive.
- Check the radio stations you want to listen to and make sure the car antenna is working properly.
Conclusion:
Car antennas/aerials are constantly evolving to make radio entertainment more accessible and fun for you. Car manufacturers are continuously working towards more durable and secure car aerial designs that will not break off or malfunction. Even so, they have a long way to go and it will take some time before you’re able to enjoy sophisticated features such as 5G coverage with just your car antenna. In the meantime, you can rock along to your favourite jams and catch up with your desired shows without interruption, all thanks to the excellent antenna knowledge you’ve gained from this blog!


